How I Created My Own Mastodon Instance!
I'm in Control of my Home in the Fediverse. And it Works Fine!
When all the kerfuffle began with Twitter in early November, began with Twitter, I decided it was time to explore Mastodon. I’ve been online a long time - since 1982 and have progressed through a lot of networks over the years. I’m also a bit of a computer geek - while my day job has me advising global organizations that will impact them, I chill out in root.
My theory has always been, you can’t talk about the future if you don’t understand the technology that defines the future.
And so my little Mastodon instance at futurist.info/@jimcarroll shows this type of thing - a stage life and geek life.
Starting Out
Like most people, I quickly learned that the first step in getting into Mastodon was to find an ‘instance.’
And so being Canadian, I originally signed up at the mstdn.ca instance, because, well, I’m Canadian. I had a quick look around, decided there was definitely something happening, and so I decided I wanted to commit to it.
But I didn’t want to do it on some other system. I wanted my own!
Why Your Own Mastodon Instance?
My drivers might be the same as yours:
as long time ‘nix geek - I began with FreeBSD sometime around ‘96 and Linux when it came around, I wanted to ensure that I really understood what was ‘happening under the hood,’ so to speak
while I learned quickly that a lot of people are putting in a lot of time as admins in scaling, supporting, and building their instances, I am someone who prefers to control their own technology destiny. The only way I could guarantee uptime is to do it on my own cloud server. I figure that instances might come and go over time - I didn’t want to find myself with a Mastodon address at some point in the future that simply wouldn’t work anymore.
I figured realized would be rapid adoption of Mastodon as a serious alternative as Twitter began to go into a world of erratic unpredictability. If that were the case, I wanted to have my own ‘brand’ online. I had a domain kicking around, futurist.info, and decided it would be perfect for this purpose
I’m big into personal branding. I’m Jimcarroll.com, and my domain futurist.info seemed perfect for some personal branding in the Mastodon universe. (I could have also set up something like jimcarroll@mastodon.jimcarroll.com, but that seemed kind of long)
My Server
I’ve been a big fan of Vultr for a long time; I host my Family & Friends server there, as well as one for a charity for special needs adults that my wife and I are involved with. Hence, that was the natural starting point.
And for whatever reason - I really don’t remember - I’m an Ubuntu guy, so I started with that.
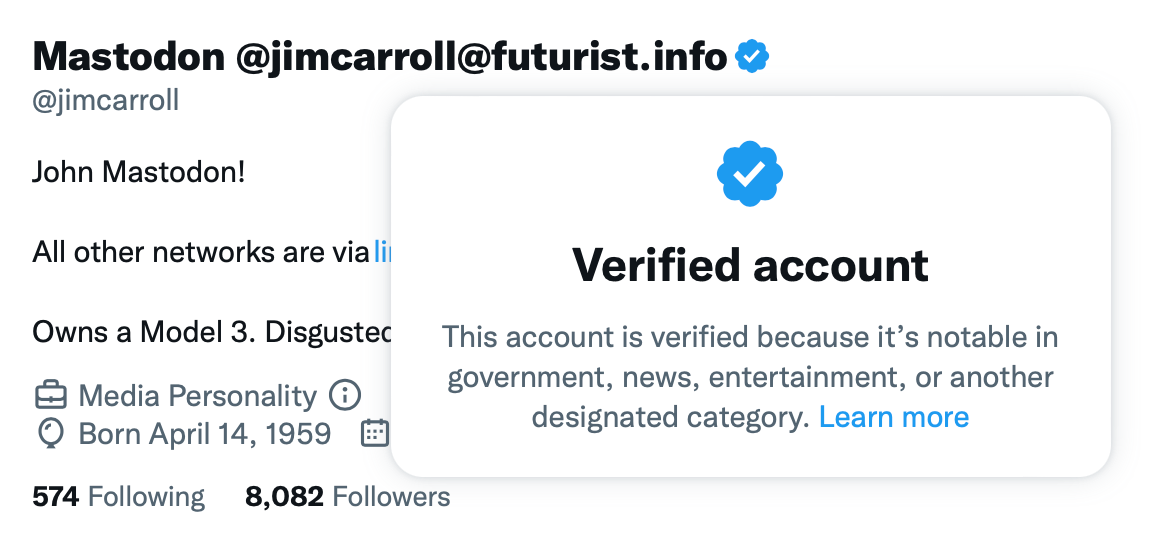
I also didn’t want to give $8 to the crazy guy (I was once a big Musk fan, but no more. I own a Tesla Model 3. I’m pissed and confused). I was previously verified because, well, I’ve done speeches with Biz Stone and Jack Dorsey and folks like that…
But I’m not paying for a blue tick going forward, on a site that is set to become truth.social 2.0., full of vitriolic hate.
My (still verified) Twitter profile reflects my identity, old and new. I’m not deleting the account (yet) because I need it to track the weather and science people I track. I’m not engaging there!
The Basic Install Process
My basic advice? If you want your own instance, dive in!
It’s not complicated at all - just follow the docs! You probably want some Linux experience if you are going down that path. Since I didn’t do Docker, I would imagine you’ll run into your own Docker challenges because, well, Docker.
In fact, it’s pretty straightforward, with just a few hiccups for me around memory size, the LetsEncrypt process, and Nginx configuration. That’s what I’ll describe below.
So head right over to the install docs’ - you’ll find them here.
Just follow the docs, and you’ll be fine, with the possible exceptions I note below. So, you'll see a lot of stuff like this:
One thing you might want to check early in the installation process is that your Nginx is working and the firewall is properly configured - this will be important when you grab your SSL certificate later on.
So after the above, I checked that it was there with a curl command.
It doesn’t hurt to check that you don’t have any error messages - so a good service nginx status command will give you what you need.
And make sure to configure your firewall allows inbound HTTP: on 22.04 this is via the ufw command. Your flavor of Linux might involve something else.
and check that it’s good:
Leading to success!
All the rest of the steps were very straightforward… so you should just see a bunch of screens with no errors.
The key section comes when you enter your domain name - in this case, I’m using another spare domain, yottabits.com (What’s a yottabit? A big number - look it up!) I just used that while writing this post to get some screen shots …. my real site is over at futurist.info.
Also, for brevity, I set this server to use a local host for mail since I’m going to configure it later for my Amazon SES SMTP service later. The docs will refer you to using Mailgun, and that will work fine. Try it out for free for 30 days., but it is a bit pricey for long-term use at $21.95 a month. That’s why I’m using SES - it costs less than literally, pennies.
One thing of note - it was at this step where things went off the rails for me - compiling the CSS/JS assets.
I initially tried to do an install on a 1GB RAM server, and it just would not work. It wouldn’t compile - but 2GB of memory was fine. Note that it specifically warns you that it will be RAM intensive. Guess what! It is!
If you get through this process, you’ll see something like this, taking you to the point of creating an admin user.
Once you create the admin, as always, make sure to keep a record of the password!
Some other things of note: make sure that you allow your firewall to allow you to ssh in and enable HTTPS. A few times I had to rebuild my instance since I forgot and could not get back in.
Onwards. Enable the firewall, and you are good to go!
SSL and Lets Encrypt
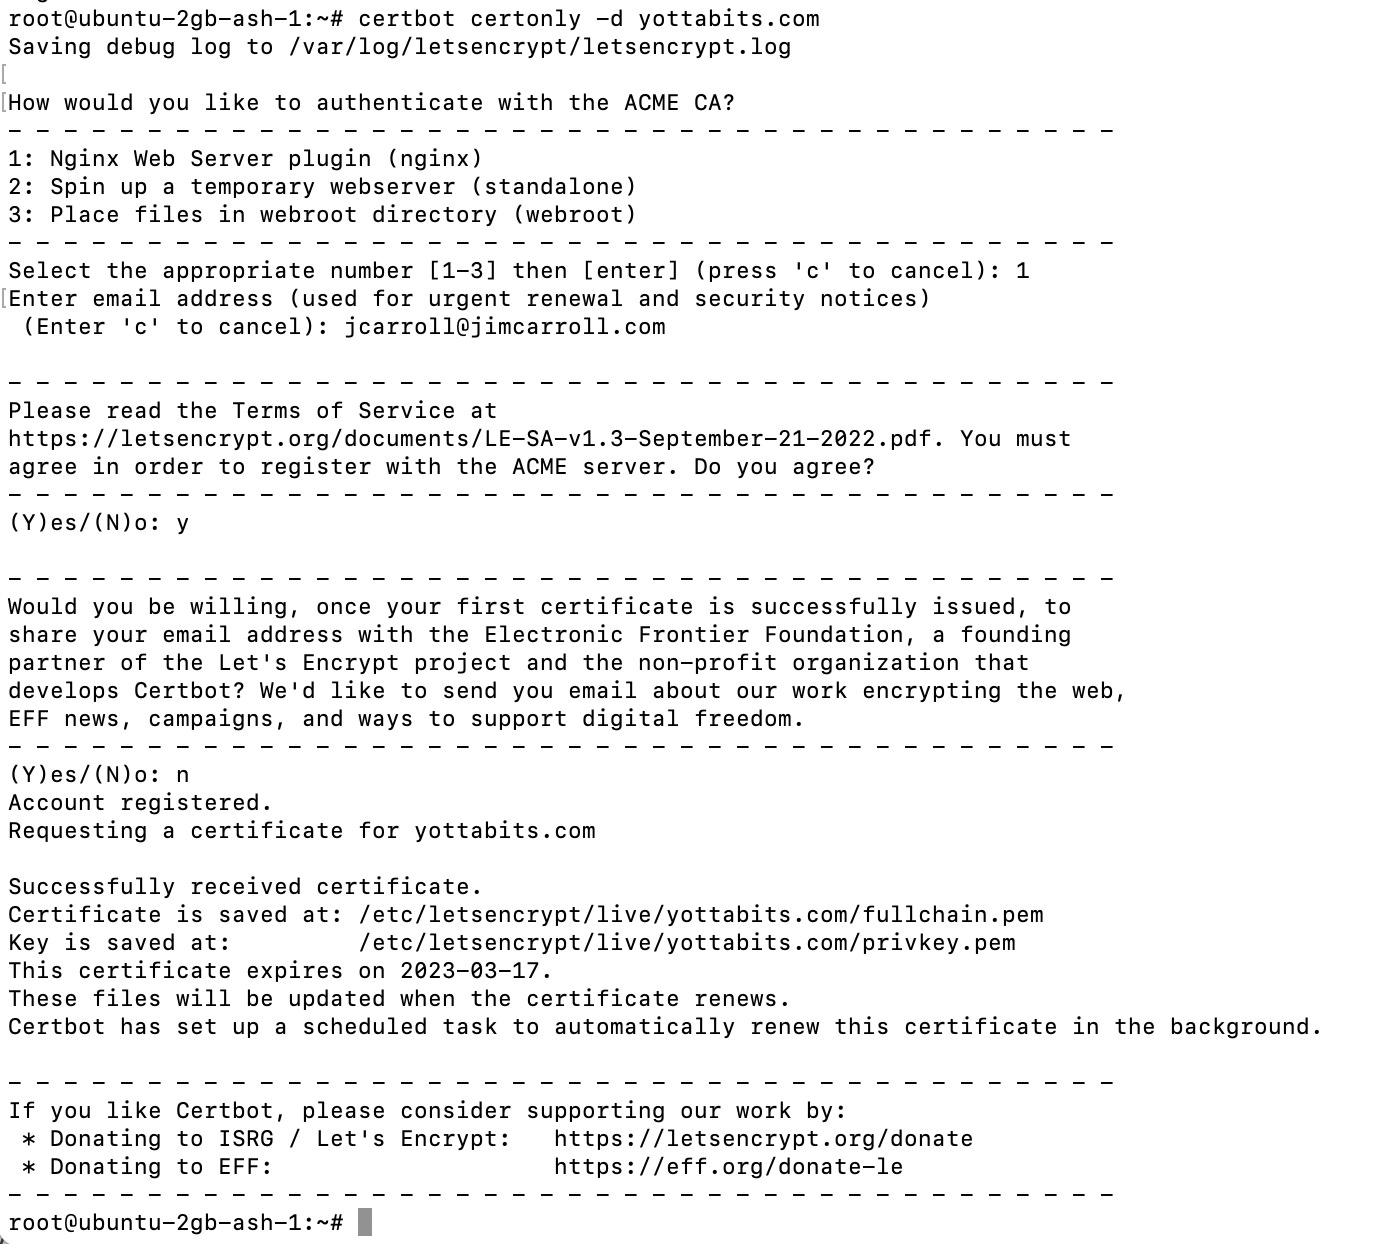
Where the docs fall apart is in the LetsEncyrpt process. They suggest you enable the default Nginx configuration (with your domain name), but this will cause Nginx to fail, which will cause your LetsEncrypt SSL certificate request to fail.
So … do Certbot before you do this! I saw a few other posts online saying the same thing!
Maybe they will fix the docs and this process will be more straightforward.
I also did a straightforward SSL request, instead of doing what the docs suggest, i.e.
certbot certonly -d yottabits.com
This will generate the certs and store them in the proper location.
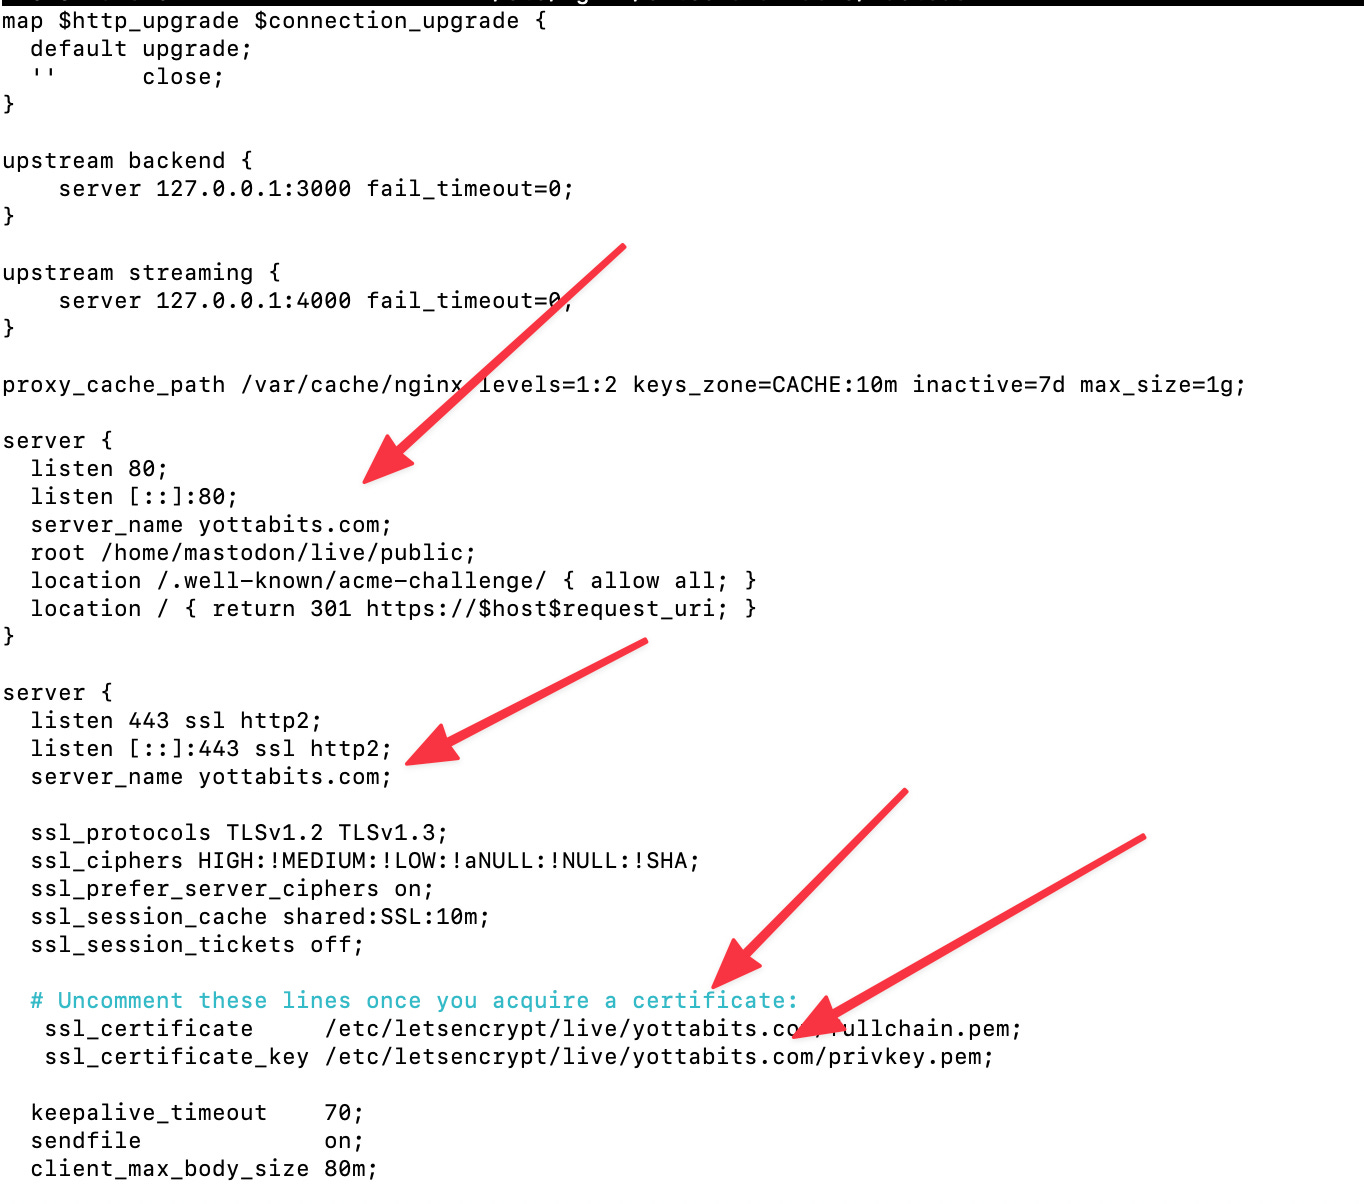
After doing this I edited the mastodon Nginx sites-available file and then enabled it via the ln command as seen in the docs.
One other thing - the docs don’t tell you to make sure things are executable - so you have to do this! Otherwise, things won’t work!
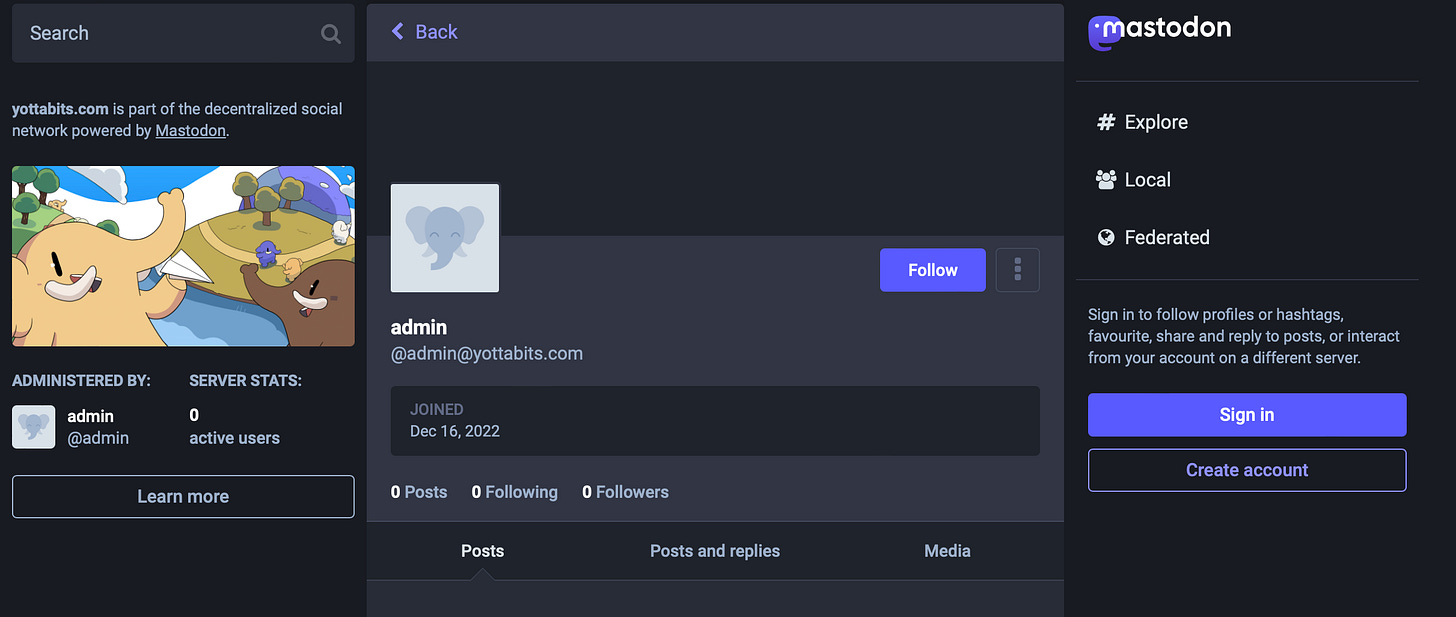
Success!
So that’s it. At this point, I’ve got my own Mastodon instance running on a Vultr Ubuntu 22.04 server, 2 GB of memory, 50GB disk space, and 3,000GB of traffic. Note that signups are not allowed, since I specified that in my build process above.
CDN and Email
One thing to keep in mind is that all the media of all your interactions with everyone will be stored on your server, so you probably want to move the media - images, video, and the like - off to a CDN (content delivery network.)
Otherwise, you might fill up your 25GB or whatever storage space you have in a little bit of time.
You can find a lot of docs on how to do this online; I found these docs to be particularly helpful:
https://github.com/cybrespace/cybrespace-meta/blob/master/s3.md
https://discourse.joinmastodon.org/t/configurate-s3-after-installation/1858
https://thomas-leister.de/en/mastodon-s3-media-storage/
In my case, I’ve been using Amazon S3 for this purpose on my website and am familiar with that, so I went that route. There are many other S3 compatible options - Google is your friend. Someone suggested to me that Cloudflare's R2 object storage method is a lot more straightforward.
I can’t dare to describe the S3 process - refer to the 3 docs above. But in my case, I’ve got an s3 bucket:
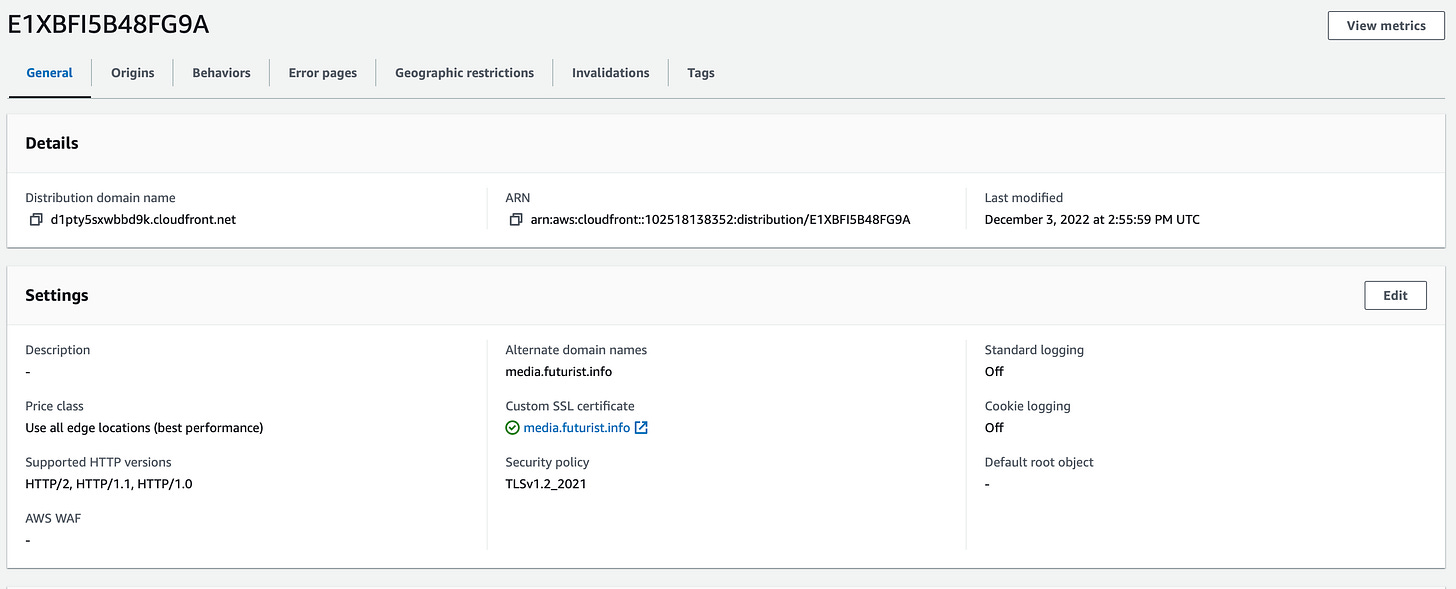
with a Cloudfront distribution that is linked to a CNAME I set in my domain provider, easyDNS - in this case, I’m using media.futurist.info. That too has an SSL certificate attached to it, also done through Amazon.
What does this do for me?
Any image, GIF, or video I post comes from the Amazon S3 cloud and comes from the domain media.futurist.info - not my little 25GB server.
Similarly, ALL the media that comes into my server from the people I follow - media, video, GIFs … doesn’t actually come into my server but is shoved off to Amazon.
Meaning that my little 25GB server should suffice for quite some time.
Likewise, I’m using Amazon SES for e-mail. If you don’t know about it, you should. I’ve been using this for my Daily Inspiration email distribution that goes to a few thousand people = and it costs just pennies compared to the $24 I was spending monthly on Mailchimp
Again, there is a bit of a configuration process to this that I can’t begin to dare to describe - suffice it to say, my guidance to you is to make sure you configure whatever SMTP setup you're comfortable with because your single instance Mastodon instance will only send a few emails a day. You don’t need to be spending $21.95 a month on Mailgun for that!
So I’ve got a nice little SES setup:
with SMTP credentials that I feed into Mastodon. It uses these to send the daily emails to your admin - YOU! - about hashtags, trending posts and such.
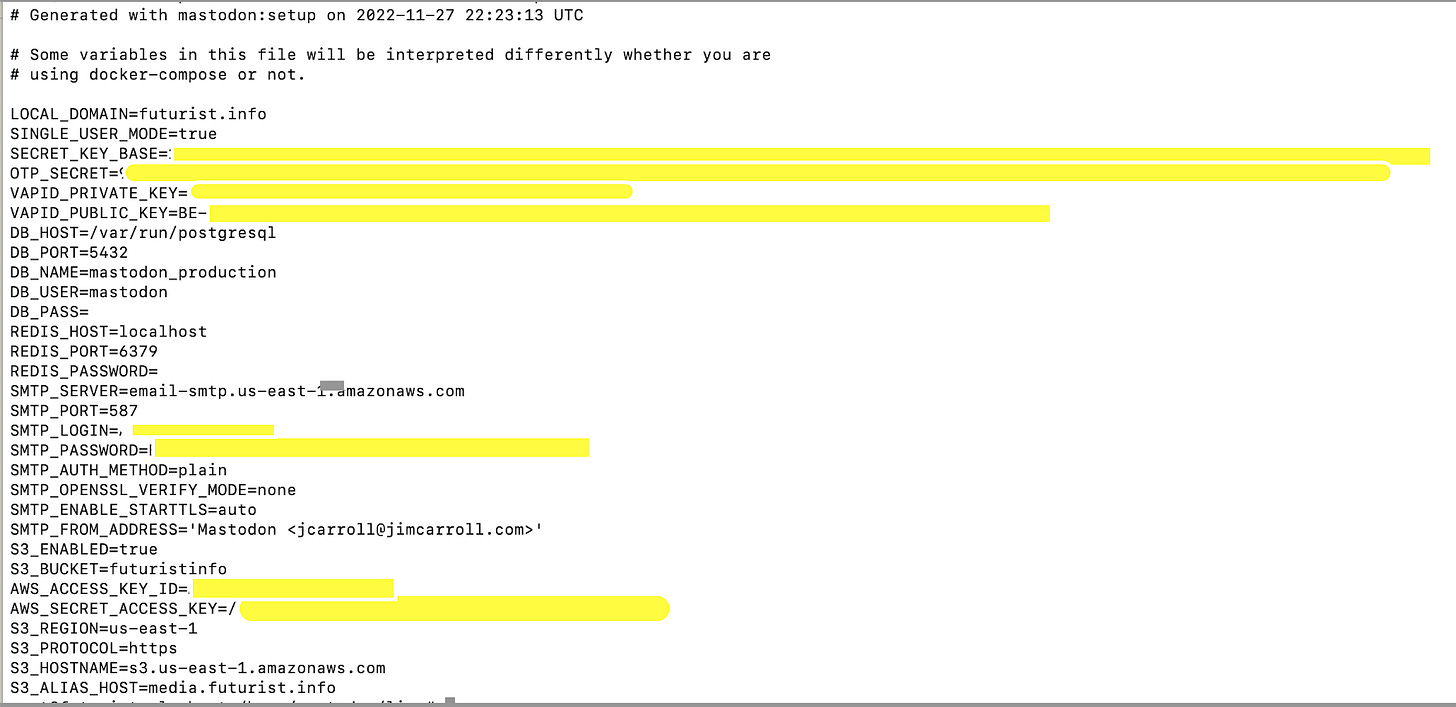
.env.production
So at the end of the day, this is where it all happens, and here’s what mine looks like with Amazon S3 and SES configured in.
Bottom Line?
It’s Dec 19th when I write this - and so my cost so far this month is $9.63. My SES and S3 costs are ridiculously cheap - I’ll put that into this post at the end of the month.
I’m barely using my monthly bandwidth, and my little server certainly isn’t under any stress.
and a quick glance at my server shows it’s all running fine!
Am I happy?
You bet! I’m fully in on Mastodon, and I’m looking forward to being a good neighbor to my new buddy John Mastodon!
Hit me up with any questions - I’ve never written any sort of document like this before, and have probably failed 27 different ways from Sunday. But I must say, it’s been a lot of fun!
Futurist Jim Carroll has spent 30 years on stages worldwide, opening leadership meetings for the likes of NASA, Disney, Pfizer, and Disney. When he’s not busy thinking about the future, he hangs out in a terminal somewhere. He uses nano, not vi.
You can learn more about his day job at https://jimcarroll.com
He’s on Mastodon at https://futurist.info/@jimcarroll










Thanks for this read. The CDN seems like a vital part of the process. I’ll need to read up and learn about how those work. Lord knows I have enough domains to set up on.